Virtual Postman Manual |
|
|
|
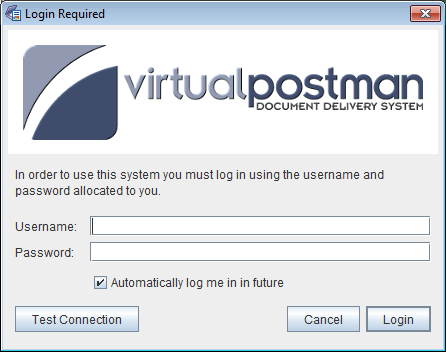
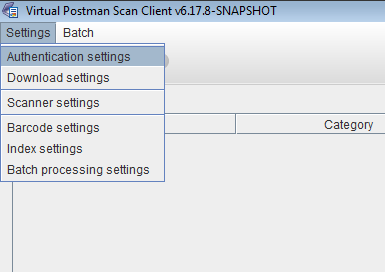
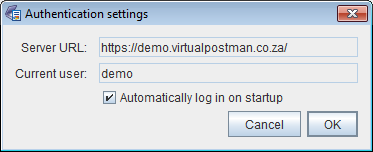
This chapter covers the configuration of the Virtual Postman Scan Client. When you use the Virtual Postman Scan Client for the first time, you will be presented with an authentication screen, as shown in Figure 3.1, “Virtual Postman Scan Client authentication window”. In order to log in, type your username and password as provided by your system administrator. This will be the same username and password you use to log into the Virtual Postman web interface. If you select the checkbox labeled Automatically log me in in future then, once you have successfully logged in, you will not be asked for your username and password again - they will be remembered. If you do not select the checkbox, you will be asked for your username and password each time the Virtual Postman Scan Client starts up. The button allows you to test whether or not communication with the Virtual Postman server can be established. If the Automatically log me in in future is not visible, or if you would like to change the automatic login settings, you can select the Authentication settings option from the Settings menu of the Virtual Postman Scan Client main window, which will allow you to configure the automatic login feature, as shown in Figure 3.3, “Authentication settings dialog”. |